Galentine's Fun Chocolate Layer Cake
Highlighted under: Baking & Desserts
I absolutely love making this Galentine's Fun Chocolate Layer Cake for my friends during the special celebration of Galentine's Day. Each bite of this cake is a delightful indulgence, filled with rich chocolate flavor and topped with a luscious frosting. The layers create a stunning presentation that is sure to impress anyone. Whether you're throwing a party or simply treating yourself and your closest pals, this cake brings joy and sweetness to any gathering. I can't wait to share it with you!
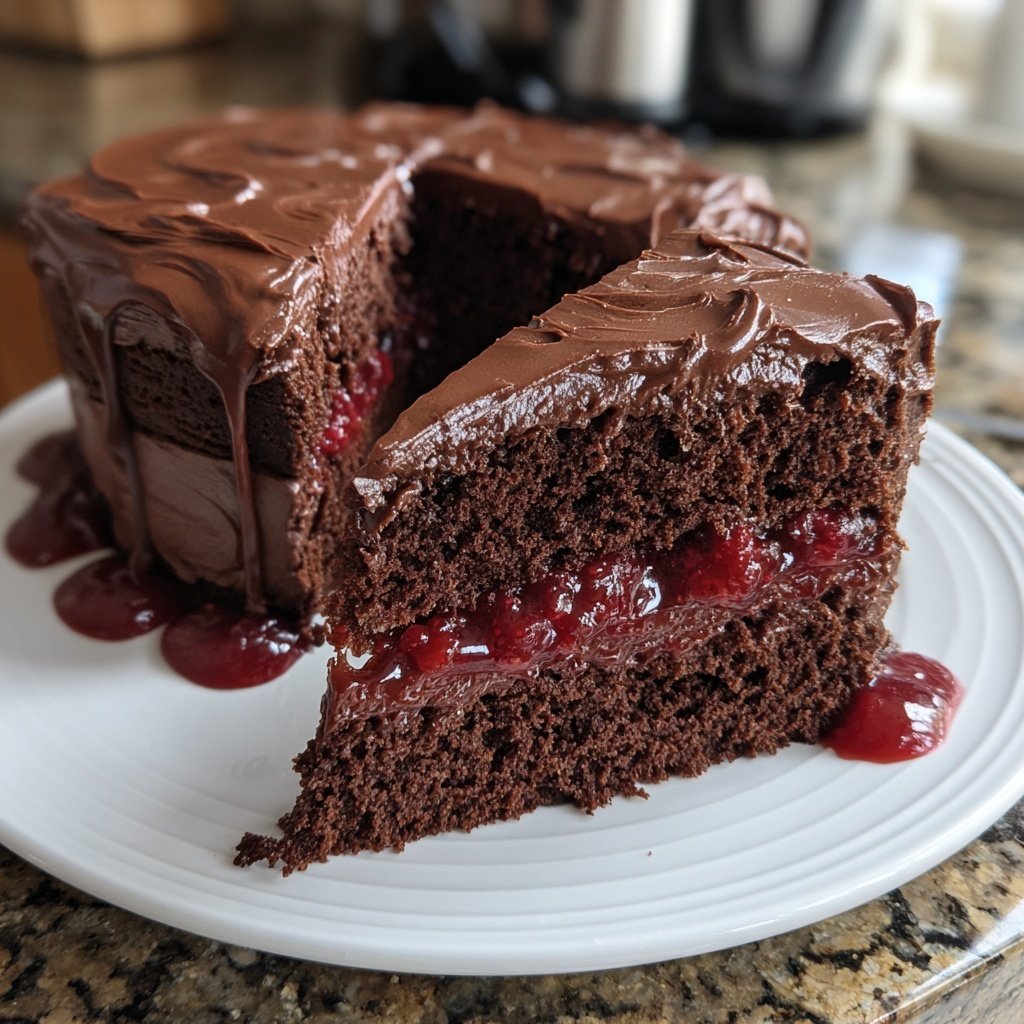
Creating this cake has always been a highlight when celebrating Galentine's Day. I remember the first time I made it; I decided to experiment with different flavors and textures in each layer. The fluffy chocolate cake pairs perfectly with the silky frosting, and the combination truly elevates the experience.
One tip I discovered is to let the cake layers cool completely before frosting them. This prevents the frosting from melting and ensures each layer stays beautifully defined. Trust me, the extra time is worth it when you're slicing into this decadent masterpiece!
Why You Will Love This Recipe
- Delightfully rich chocolate cake with a moist texture
- Visually stunning layers that wow your guests
- Perfectly balanced sweetness that isn't overwhelming
Mastering Chocolate Layers
The key to achieving rich chocolate flavor in the cake layers lies in the balance of cocoa powder and sugar. Using high-quality unsweetened cocoa powder not only deepens the flavor but also influences the color of the cake. Make sure that all dry ingredients are thoroughly combined before incorporating the wet ones, as this helps to create an even texture and ensures that the cocoa is evenly distributed throughout the batter.
When mixing in the boiling water, do so carefully. This step activates the cocoa and helps in creating a moist cake, while also slightly cooking the eggs, preventing a potential 'gritty' texture. The batter will be quite thin, but don’t worry; this is what contributes to the cake’s moistness. Pour the batter evenly into your prepared pans, and for best results, use a kitchen scale to measure the batter for uniform layers.
Perfecting the Frosting
The frosting is where you can truly impress your guests with a glossy, decadent finish. Be sure your unsalted butter is softened, as this allows for easier mixing and a smoother consistency. I recommend beating the butter for a good 3-5 minutes until it’s fluffy – this step is critical for incorporating air into the frosting, giving it a light texture. Gradually add the powdered sugar and cocoa to prevent a sugar cloud in your kitchen!
When mixing in the milk, adjust the amount as needed. If the frosting feels too thick, add more milk a tablespoon at a time until it reaches your desired consistency. Conversely, if it’s too thin, add more powdered sugar. For an extra richness, consider adding a splash of espresso powder to the frosting; it amplifies the chocolate flavor without overpowering the cake’s sweetness.
Decorating Your Masterpiece
Decoration not only makes the cake visually appealing but also allows for personal touches. Using chocolate shavings or curls, fresh berries, and colorful sprinkles adds both texture and flavor contrasts. If you want to add a refined touch, consider tempering some chocolate and creating decorative shapes or curls to garnish the top. Ensure the frosting is fully set before adding these toppings, as they can slip off if applied too soon.
For added depth of flavor, drizzle a light chocolate ganache over the top just before serving. To make ganache, heat equal parts cream and chocolate until the chocolate melts, then allow it to cool slightly before pouring over the cake. It not only enhances the visual appeal but also adds a luxurious finishing touch that takes this Galentine's cake to the next level.
Ingredients
Ingredients
For the Cake Layers
- 1 and 3/4 cups all-purpose flour
- 3/4 cup unsweetened cocoa powder
- 2 cups sugar
- 1 and 1/2 teaspoons baking powder
- 1 and 1/2 teaspoons baking soda
- 1 teaspoon salt
- 2 large eggs
- 1 cup milk
- 1/2 cup vegetable oil
- 2 teaspoons vanilla extract
- 1 cup boiling water
For the Frosting
- 1 cup unsalted butter, softened
- 3 and 1/2 cups powdered sugar
- 1/2 cup cocoa powder
- 1/2 cup milk
- 2 teaspoons vanilla extract
For Decoration
- Chocolate shavings
- Fresh berries
- Sprinkles
Make sure to gather all ingredients before starting!
Instructions
Instructions
Prepare the Cake Layers
Preheat your oven to 350°F (175°C) and grease three 9-inch round cake pans. In a large mixing bowl, whisk together the flour, cocoa powder, sugar, baking powder, baking soda, and salt. Add the eggs, milk, oil, and vanilla, mixing until smooth. Carefully stir in the boiling water until the batter is well combined. Pour evenly into the prepared pans.
Bake the Cakes
Bake in the preheated oven for 30 minutes or until a toothpick inserted in the center comes out clean. Allow the cakes to cool in the pans for 10 minutes, then transfer them to wire racks to cool completely.
Make the Frosting
In a large bowl, beat the butter until creamy. Gradually add powdered sugar and cocoa, alternating with milk, until you reach a smooth consistency. Stir in vanilla extract.
Assemble the Cake
Once the cake layers are completely cool, place one layer on a serving plate. Spread a layer of frosting on top, then repeat with the second layer. Top with the third layer and frost the entire cake. Decorate with chocolate shavings, fresh berries, and sprinkles to your liking.
Enjoy your delicious Galentine's Fun Chocolate Layer Cake!
Pro Tips
- For an extra depth of flavor, consider adding a teaspoon of espresso powder to the cake batter. It enhances the chocolate taste without making the cake taste like coffee.
Storing and Serving
This Galentine's Fun Chocolate Layer Cake can be stored at room temperature for up to 3 days when covered properly. To maintain its moisture, I recommend wrapping it in plastic wrap. If you need to store it for longer, you can refrigerate it for up to a week. However, be aware that refrigeration can dry out the cake unless it’s well-wrapped.
If you're planning to serve this cake for a gathering, it can also be frozen. Wrap the individual layers tightly in plastic wrap, and place them in an airtight container for up to three months. When you're ready to serve, let them thaw at room temperature and re-frost if necessary for that fresh-baked feel.
Possible Variations
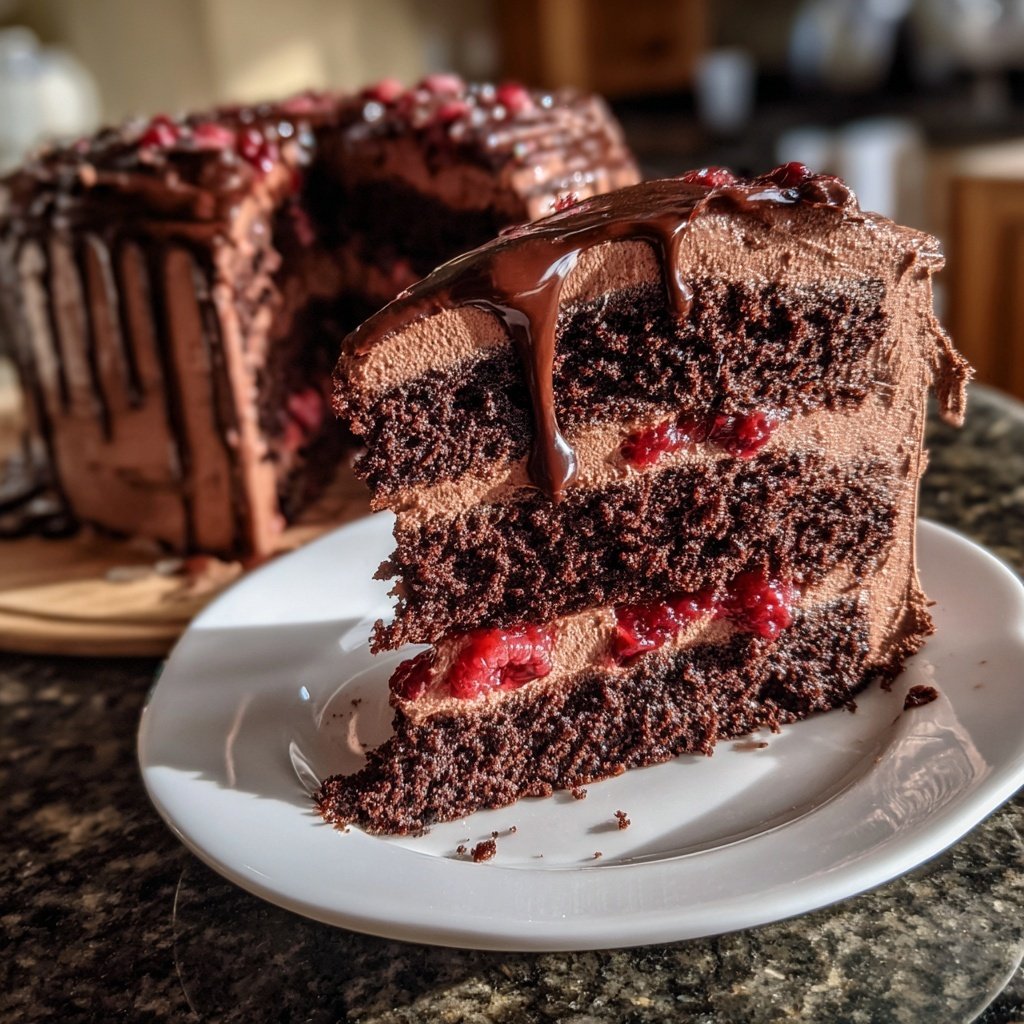
Don't hesitate to get creative with this recipe! For a twist, consider adding a layer of fruit preserves or peanut butter between the cake layers; this unexpected addition can complement the rich chocolate flavor beautifully. Alternatively, swap the cocoa powder for a flavored variety like caramel or dark chocolate to create distinct flavors for each layer.
If you're aiming for a lighter version, consider making a chocolate mousse filling instead of traditional frosting. Simply whip heavy cream with a bit of sugar and fold in melted dark chocolate for an airy, delicious filling that provides a delightful contrast to your cake layers.
Troubleshooting Common Issues
One common issue with chocolate cakes can be dryness, which usually results from overbaking. To prevent this, always check your cakes a few minutes early; a toothpick should come out with just a few moist crumbs. If your cakes do end up dry, you can brush them with a simple syrup (equal parts sugar and water heated until dissolved) before adding frosting to rejuvenate the moisture.
Another thing to look out for is the frosting becoming too thin. If your frosting seems to slide off the cake, it might be too warm or the butter too melted. Always chill the frosted cake for about 30 minutes before serving to allow the frosting to set up. If you find yourself in a pinch, simply re-chill it and re-whip the frosting to thicken, adding more cocoa or powdered sugar as needed.
Questions About Recipes
→ Can I make this cake in advance?
Yes, you can bake the cake layers ahead of time and store them in the refrigerator. Just frost when you are ready to serve.
→ How should I store leftovers?
Store leftover cake in an airtight container in the refrigerator for up to 3 days.
→ Can I use gluten-free flour?
Absolutely! Just substitute the all-purpose flour with a 1:1 gluten-free flour blend.
→ What can I use instead of eggs?
You can replace eggs with flaxseed meal mixed with water or a commercial egg replacer.
Galentine's Fun Chocolate Layer Cake
Created by: The Cookistrylab Team
Recipe Type: Baking & Desserts
Skill Level: Intermediate
Final Quantity: 8 servings
What You'll Need
For the Cake Layers
- 1 and 3/4 cups all-purpose flour
- 3/4 cup unsweetened cocoa powder
- 2 cups sugar
- 1 and 1/2 teaspoons baking powder
- 1 and 1/2 teaspoons baking soda
- 1 teaspoon salt
- 2 large eggs
- 1 cup milk
- 1/2 cup vegetable oil
- 2 teaspoons vanilla extract
- 1 cup boiling water
For the Frosting
- 1 cup unsalted butter, softened
- 3 and 1/2 cups powdered sugar
- 1/2 cup cocoa powder
- 1/2 cup milk
- 2 teaspoons vanilla extract
For Decoration
- Chocolate shavings
- Fresh berries
- Sprinkles
How-To Steps
Preheat your oven to 350°F (175°C) and grease three 9-inch round cake pans. In a large mixing bowl, whisk together the flour, cocoa powder, sugar, baking powder, baking soda, and salt. Add the eggs, milk, oil, and vanilla, mixing until smooth. Carefully stir in the boiling water until the batter is well combined. Pour evenly into the prepared pans.
Bake in the preheated oven for 30 minutes or until a toothpick inserted in the center comes out clean. Allow the cakes to cool in the pans for 10 minutes, then transfer them to wire racks to cool completely.
In a large bowl, beat the butter until creamy. Gradually add powdered sugar and cocoa, alternating with milk, until you reach a smooth consistency. Stir in vanilla extract.
Once the cake layers are completely cool, place one layer on a serving plate. Spread a layer of frosting on top, then repeat with the second layer. Top with the third layer and frost the entire cake. Decorate with chocolate shavings, fresh berries, and sprinkles to your liking.
Extra Tips
- For an extra depth of flavor, consider adding a teaspoon of espresso powder to the cake batter. It enhances the chocolate taste without making the cake taste like coffee.
Nutritional Breakdown (Per Serving)
- Calories: 380 kcal
- Total Fat: 26g
- Saturated Fat: 15g
- Cholesterol: 195mg
- Sodium: 85mg
- Total Carbohydrates: 32g
- Dietary Fiber: 3g
- Sugars: 24g
- Protein: 6g