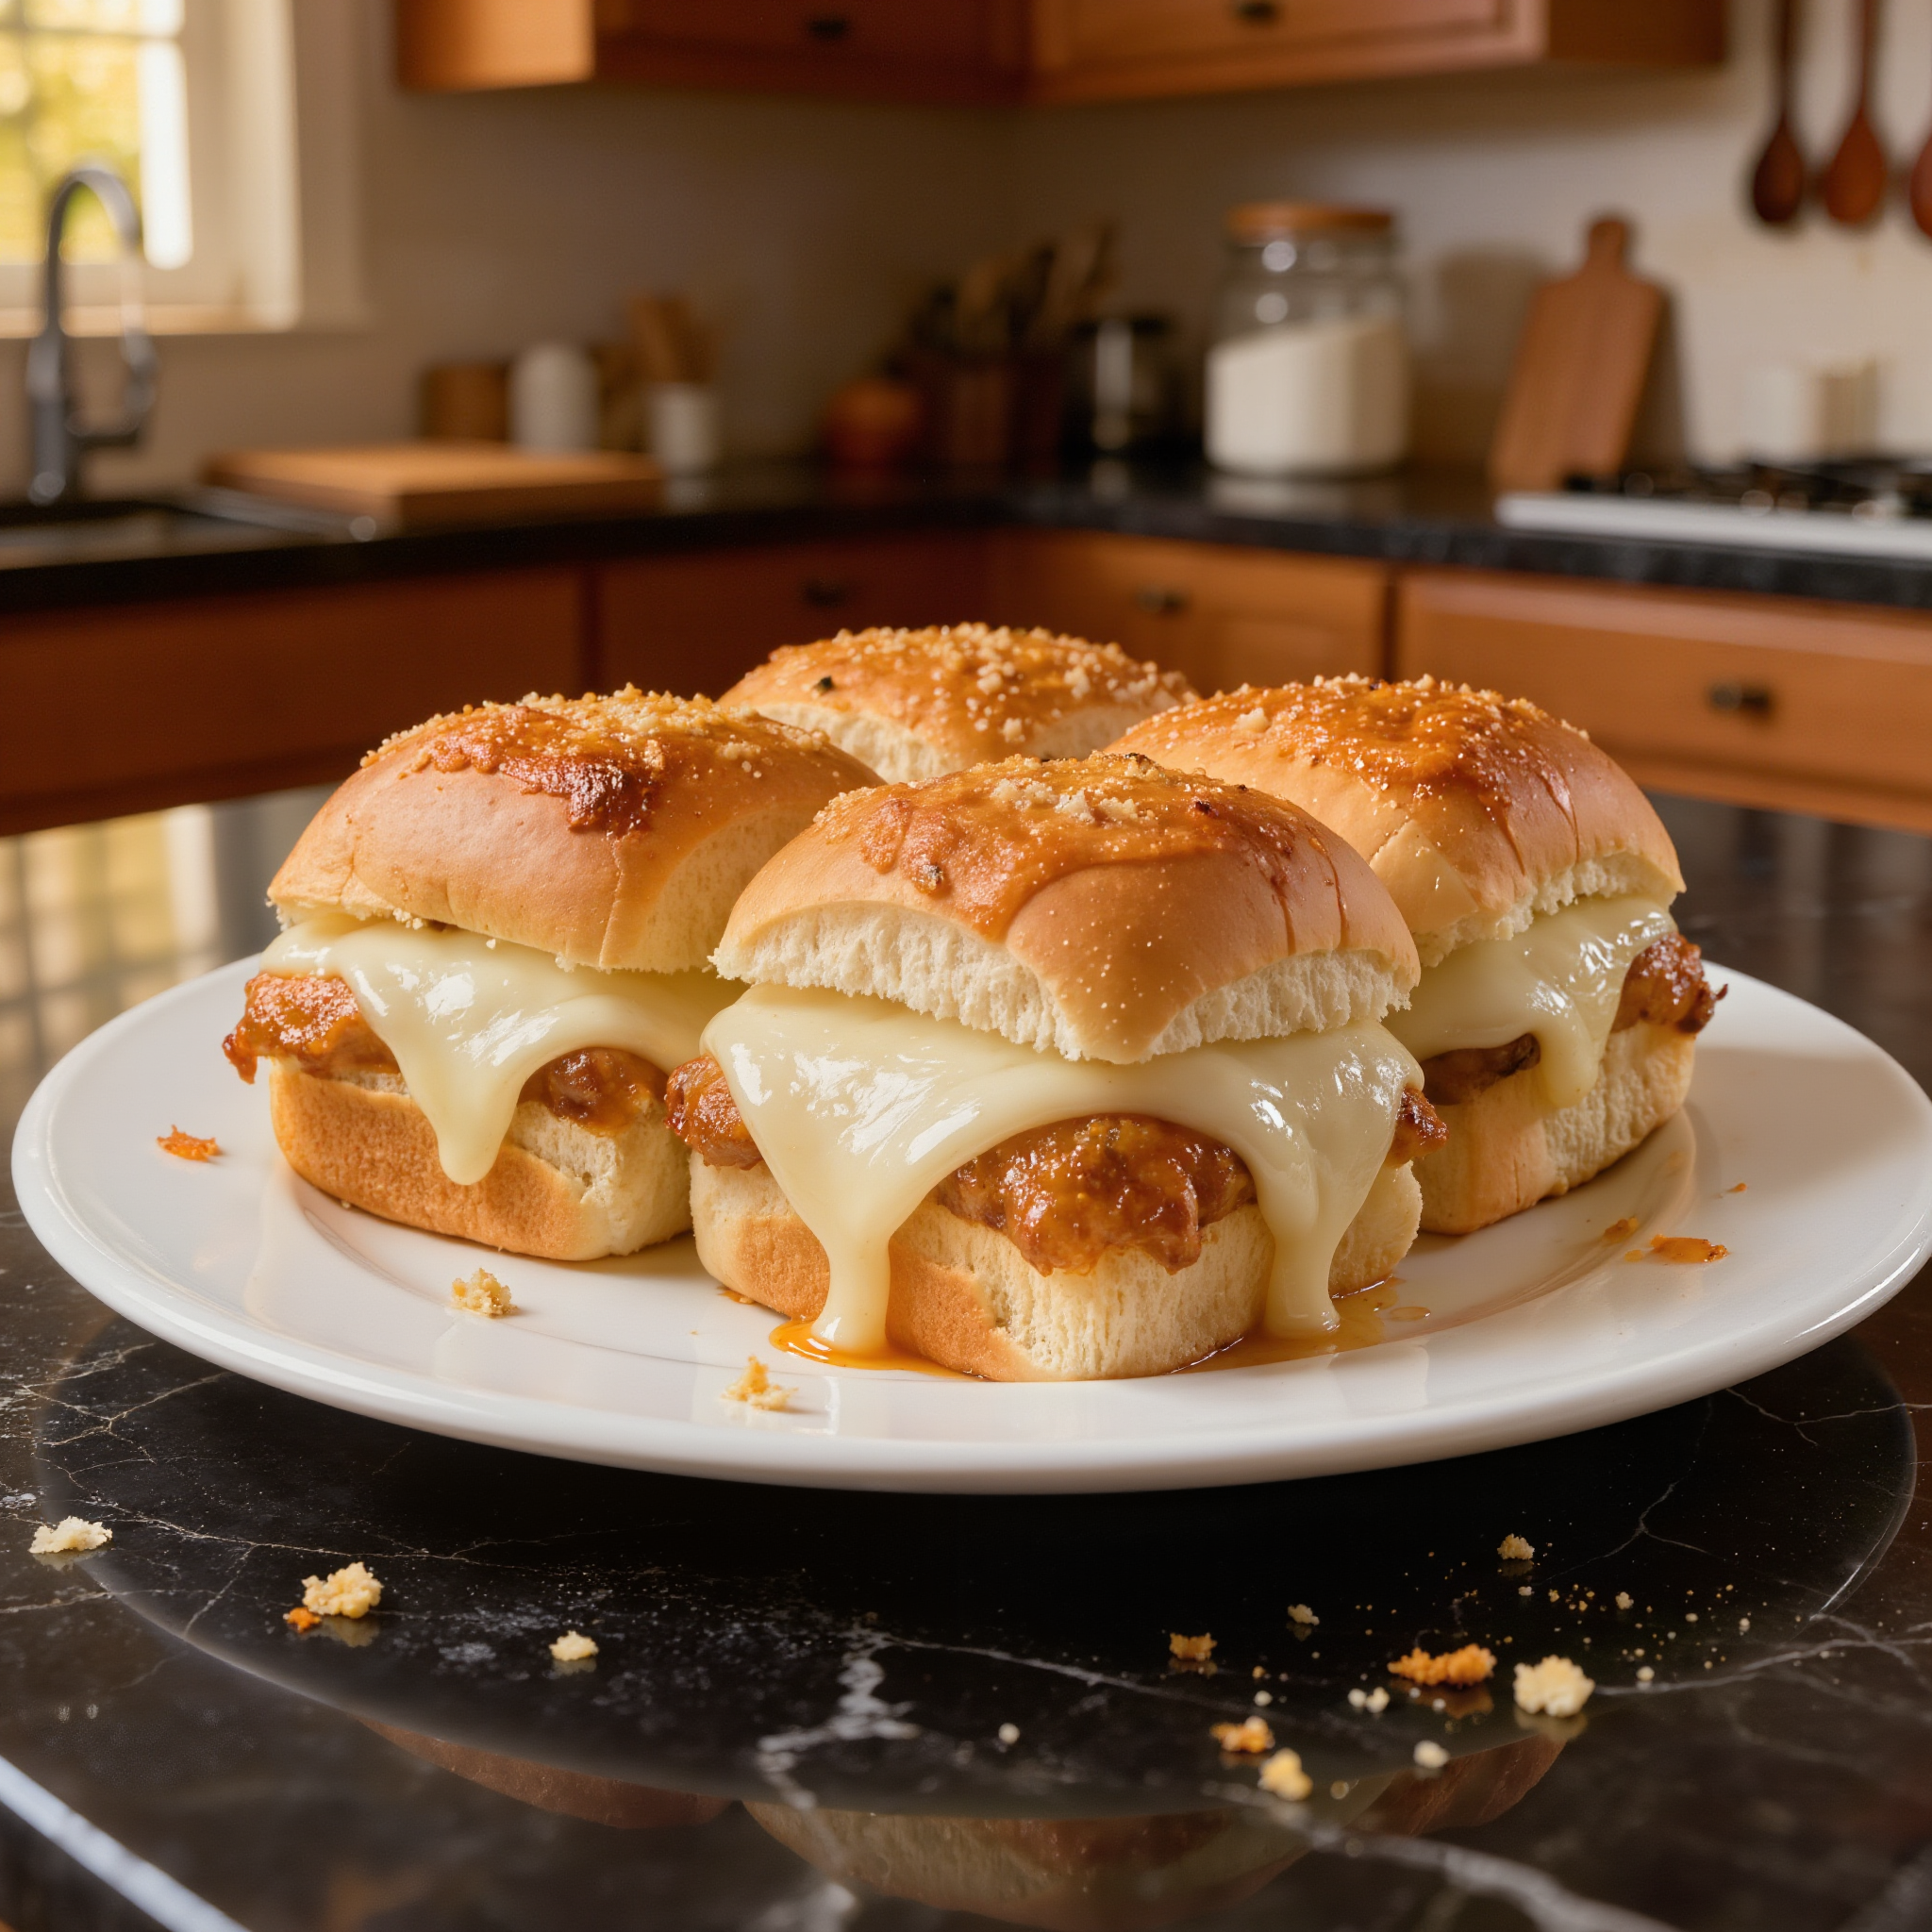
Cheesy Garlic Slider Buns
Highlighted under: Baking & Desserts
I absolutely love making these Cheesy Garlic Slider Buns for gatherings or just a cozy night in. The aroma of garlic and cheese wafting through the kitchen is simply irresistible! Each bite offers a delightful combination of fluffiness and rich flavor. We often pair them with our favorite dipping sauces, making them perfect for sharing. It's a fun recipe that's easy to whip up, and the best part is watching everyone enjoy them as they disappear from the platter.

Every time I make these Cheesy Garlic Slider Buns, I’m reminded of the first time I tried them at a friend's barbecue. I was surprised at how simple the recipe was, yet the flavors were so vibrant and inviting. I love the combination of melted cheese and garlic, which creates an aroma that fills the entire house and gets everyone excited.
After some experimenting, I discovered that mixing the garlic with butter before brushing it onto the buns elevates the flavor. This tiny tip makes a big difference, ensuring that every bite is packed with that savory garlic goodness. Trust me, you’ll want to make extra!
Why You'll Love These Buns
- Soft, fluffy texture that's perfect for any cheesy lover
- Irresistible garlic aroma that fills your kitchen
- Ideal for parties, game days, or a cozy dinner
Mastering the Dough
The success of these Cheesy Garlic Slider Buns starts with the dough. Ensure the water you use for activating the yeast is warm but not hot; ideally, it should be around 110°F (43°C). If the mixture doesn't foam after 5 minutes, the yeast might be inactive, so consider starting fresh with new yeast. Kneading is crucial—aim for a smooth, elastic dough that springs back slightly when poked, which indicates proper gluten development.
When it comes to rising the dough, the warmth is key. If your kitchen is cool, placing the dough in an oven with just the light on can create a perfect environment for rising. Keep it covered with a damp cloth to prevent it from drying out. The dough should double in size within about an hour, but if your kitchen is particularly cold, it might take a little longer.
Garlic Butter Magic
The garlic butter is what gives these slider buns their irresistible flavor. Using freshly minced garlic will provide a more potent aroma and taste compared to pre-minced options. Be cautious not to burn the garlic while mixing it with the melted butter; a low heat is best to extract the full depth of flavor without bitterness. This garlic butter can also be adjusted; if you love spice, consider adding a pinch of red pepper flakes for an extra kick.
When brushing the garlic butter onto the buns, make sure to coat both the tops and the sides for maximum flavor infusion. If you find yourself with leftover garlic butter, don't toss it! It makes an excellent topping for pasta, pizza, or even drizzled over vegetables before roasting.
Storing and Serving
These slider buns are best enjoyed fresh, but they can be stored for later. Once cooled, place them in an airtight container at room temperature for up to 2 days. In case you're looking to extend their life, consider freezing them after baking. Wrap each bun tightly in plastic wrap and store in a freezer-safe bag. They can be reheated directly from frozen in the oven at 350°F (175°C) for about 10-15 minutes or until warmed through.
Serving these buns is versatile; they can act as a side for soups, stews, or salads, or be filled with your choice of meats and cheeses for a heartier fare. Consider adding a dipping sauce on the side, like marinara or ranch, to complement the cheesy, garlicky goodness, making these sliders not just a snack but a centerpiece at your gatherings.
Ingredients
Gather these ingredients to make your slider buns irresistible:
For the Buns:
- 3 cups all-purpose flour
- 1 packet (2 1/4 teaspoons) active dry yeast
- 1 cup warm water
- 2 tablespoons sugar
- 1 teaspoon salt
- 2 tablespoons melted butter
- 1 egg
For the Garlic Butter:
- 1/4 cup unsalted butter, melted
- 4 cloves garlic, minced
- 1 teaspoon dried parsley
- 1/2 teaspoon salt
- 1 cup shredded cheese (cheddar or mozzarella)
Now that you have everything ready, let's get cooking!
Instructions
Follow these simple steps to create delicious Cheesy Garlic Slider Buns:
Make the Dough
In a large mixing bowl, combine warm water, sugar, and yeast. Let it sit for 5 minutes until foamy. Add melted butter, egg, flour, and salt. Mix until a dough forms, then knead for 8-10 minutes until smooth.
Let it Rise
Place the dough in a greased bowl, cover with a damp cloth, and let it rise in a warm area for about 1 hour or until doubled in size.
Shape the Buns
Preheat your oven to 375°F (190°C). Punch down the dough and divide it into 12 equal pieces. Shape each piece into a small ball and place them on a greased baking sheet.
Prepare Garlic Butter
In a small bowl, mix melted butter, minced garlic, dried parsley, and salt. Brush this mixture over the formed buns.
Top with Cheese
Sprinkle shredded cheese generously over the buns.
Bake
Bake in the preheated oven for 20-25 minutes until golden brown. Enjoy warm!
Now that your Cheesy Garlic Slider Buns are ready, serve them fresh out of the oven!
Pro Tips
- For an extra zing, try adding some grated Parmesan cheese to the garlic butter mixture.
Ingredient Substitutions
If you're looking for a gluten-free option, you can use a gluten-free all-purpose flour blend. Ensure that the blend includes xanthan gum, as it helps provide the necessary structure for the buns. Always check the package instructions for the best water-to-flour ratio as this can vary by brand.
For a dairy-free version, substitute the butter with a plant-based alternative and opt for a dairy-free cheese option. Nutritional yeast is another great addition if you want to enhance the cheesy flavor without dairy, providing an umami twist that perfectly complements the garlic.
Scaling the Recipe
This recipe is easily scalable. If you need more buns for a larger gathering, simply double or triple the ingredient amounts. Keep in mind that the rising time may increase slightly with larger batches, so factor in additional time as needed.
Alternatively, if you wish to make a smaller batch, dividing the ingredients in half works perfectly. Just ensure you follow the same process for kneading and rising. If you're using a stand mixer, keep the mixing times consistent, regardless of batch size, to maintain the texture you desire.
Questions About Recipes
→ Can I use store-bought slider buns instead?
Yes, you can use store-bought buns! Just brush them with the garlic butter and top with cheese before baking.
→ How do I store leftover buns?
Store any leftover buns in an airtight container at room temperature for up to 2 days or freeze them for longer storage.
→ Can these buns be made ahead of time?
Absolutely! You can prepare the dough the night before and let it rise in the fridge overnight. Just shape and bake them the next day.
→ What can I serve with these buns?
These buns pair wonderfully with marinara sauce, ranch dressing, or any of your favorite dipping sauces.
Cheesy Garlic Slider Buns
Created by: The Cookistrylab Team
Recipe Type: Baking & Desserts
Skill Level: Easy
Final Quantity: 12 buns
What You'll Need
For the Buns:
- 3 cups all-purpose flour
- 1 packet (2 1/4 teaspoons) active dry yeast
- 1 cup warm water
- 2 tablespoons sugar
- 1 teaspoon salt
- 2 tablespoons melted butter
- 1 egg
For the Garlic Butter:
- 1/4 cup unsalted butter, melted
- 4 cloves garlic, minced
- 1 teaspoon dried parsley
- 1/2 teaspoon salt
- 1 cup shredded cheese (cheddar or mozzarella)
How-To Steps
In a large mixing bowl, combine warm water, sugar, and yeast. Let it sit for 5 minutes until foamy. Add melted butter, egg, flour, and salt. Mix until a dough forms, then knead for 8-10 minutes until smooth.
Place the dough in a greased bowl, cover with a damp cloth, and let it rise in a warm area for about 1 hour or until doubled in size.
Preheat your oven to 375°F (190°C). Punch down the dough and divide it into 12 equal pieces. Shape each piece into a small ball and place them on a greased baking sheet.
In a small bowl, mix melted butter, minced garlic, dried parsley, and salt. Brush this mixture over the formed buns.
Sprinkle shredded cheese generously over the buns.
Bake in the preheated oven for 20-25 minutes until golden brown. Enjoy warm!
Extra Tips
- For an extra zing, try adding some grated Parmesan cheese to the garlic butter mixture.
Nutritional Breakdown (Per Serving)
- Calories: 250 kcal
- Total Fat: 15g
- Saturated Fat: 9g
- Cholesterol: 30mg
- Sodium: 320mg
- Total Carbohydrates: 25g
- Dietary Fiber: 1g
- Sugars: 1g
- Protein: 6g